Description
How To Get Epson L365 Adjustment Program Hardware ID
1. Free Download Epson L365 Adjustment Program: DOWNLOAD
2. Place the downloaded software into the safe zone of your antivirus.
3. Extract the downloaded file using WinRAR software (if not already installed, download and install WinRAR software from the link: CLICK HERE), the password to extract the file is adjprogram.com
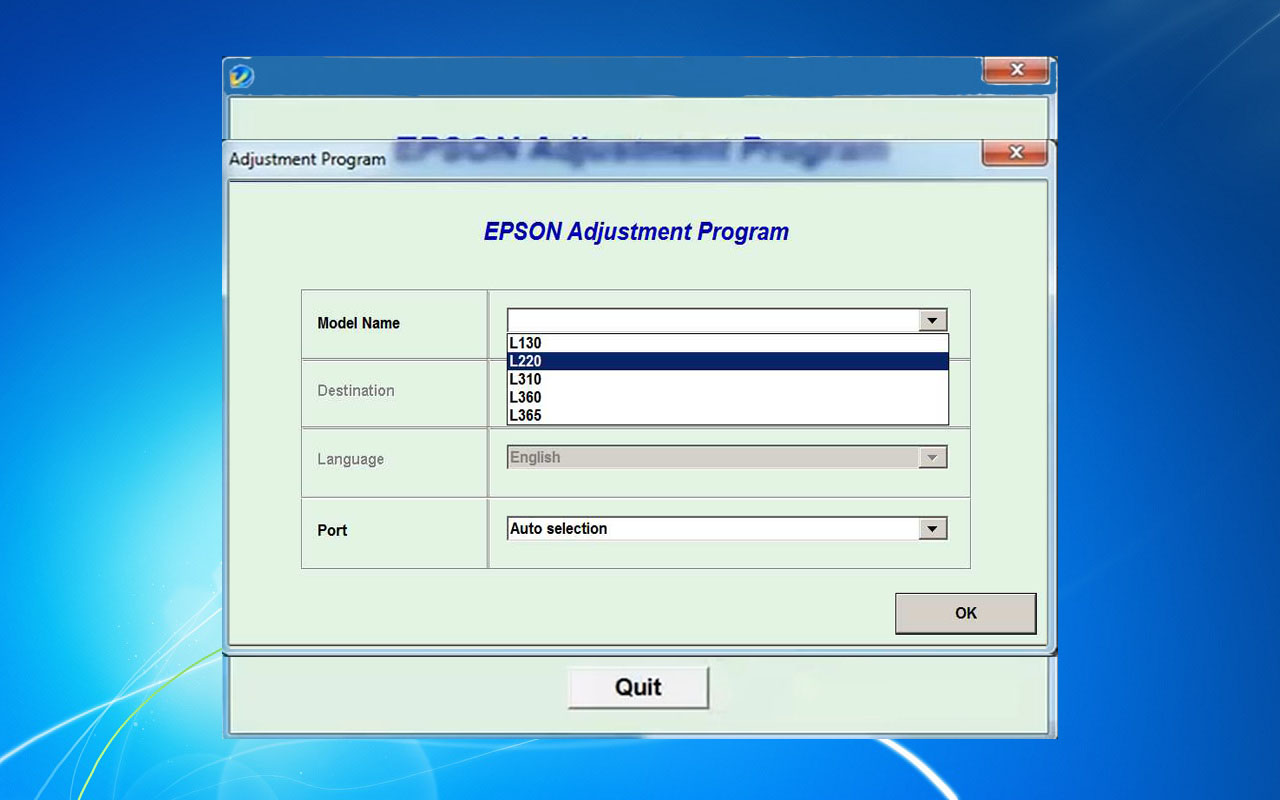
4. Open adjprog.exe, then you will see the Hardware ID.
The Epson L365 Adjustment Program is a key activation tool that allows users to reset the waste ink pad counter on their Epson L365 printer. This program is designed to help users maintain their printer and ensure it continues to operate smoothly. By using the key activation tool, users can extend the life of their printer and avoid costly repairs. Whether you are a novice or experienced user, the Epson L365 Adjustment Program is an essential tool for keeping your printer in optimal condition.
How to Use Epson L365 Adjustment Program for Troubleshooting
Having trouble with your Epson L365 printer? Don’t worry, the Epson L365 Adjustment Program is here to help. This powerful tool allows you to diagnose and fix a wide range of issues with your printer, from paper jams to print quality problems. In this blog post, we’ll walk you through how to use the Epson L365 Adjustment Program to troubleshoot and fix common printer problems.
Step 1: Download and Install the Epson L365 Adjustment Program
The first step in using the Epson L365 Adjustment Program is to download and install the software on your computer. You can find the program on the Epson website or other trusted sources online. Make sure to follow the installation instructions carefully to ensure the program is properly set up on your computer.
Step 2: Connect Your Printer to the Computer
Once the Epson L365 Adjustment Program is installed on your computer, connect your printer to the computer using a USB cable. Make sure the printer is turned on and properly connected before proceeding to the next step.
Step 3: Run the Adjustment Program and Diagnose the Issue
Open the Epson L365 Adjustment Program on your computer and follow the on-screen instructions to diagnose the issue with your printer. The program will guide you through a series of steps to identify and troubleshoot the problem, such as cleaning the printhead or resetting the printer settings.
Step 4: Fix the Issue and Reset the Printer
Once the issue has been identified, the Epson L365 Adjustment Program will provide you with the necessary tools to fix the problem. Follow the program’s instructions to make the necessary adjustments and reset the printer to its original settings.
Step 5: Test the Printer
After using the Epson L365 Adjustment Program to troubleshoot and fix the issue, test the printer to ensure that the problem has been resolved. Print a test page or document to verify that the printer is now functioning properly.
Conclusion
The Epson L365 Adjustment Program is a valuable tool for troubleshooting and fixing common printer problems. By following the steps outlined in this blog post, you can easily diagnose and resolve issues with your Epson L365 printer. Remember to always use trusted sources to download the Adjustment Program and follow the instructions carefully to avoid any further issues with your printer.
Need help or looking for a discount as a returning customer? Reach out to us directly via the Contact section. We’re happy to assist you.
Telegram: https://t.me/nguyendangmien
Facebook: https://www.facebook.com/nguyendangmien
Whatsapp: https://wa.me/+84915589236